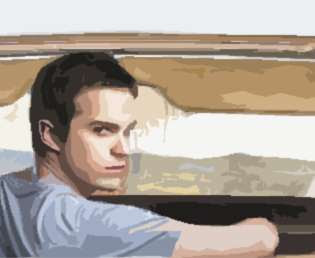
1. Open your image. Remember to flatten your image (CTRL + SHIFT + E) after you get the coloring you want.
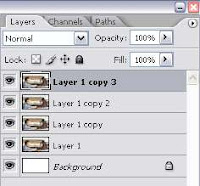
2. Duplicate your image 3 times. Here's what your layer palette should look like. Don't worry about the names. As long as you know which layer is which in this tutorial, you should be fine.
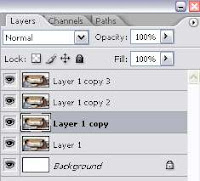
3. Select Layer 1 copy on your layer palette.
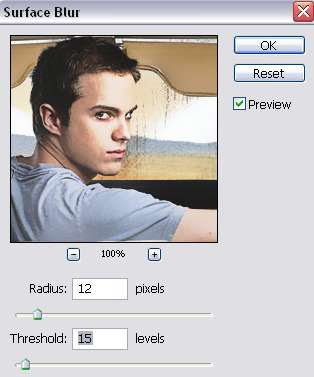
Then, go to Filter > Blur > Surface Blur. The settings I used are shown below. The goal is to smoothen the skin area. You can play around with the settings as long as you get something similar to the preview image below:
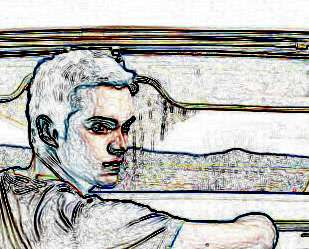
4. Next, select Layer 1 copy 2 on your layer palette. Go to Filter > Artistic > Cutout. Adjust the setting on the right until you got something similar to the preview image below. I also include the setting I used for this particular outcome on my image.

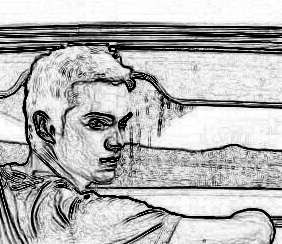
5. Then, select Layer 1 copy 3. Go to Filter > Stylize > Find Edges. You'll have something like this:
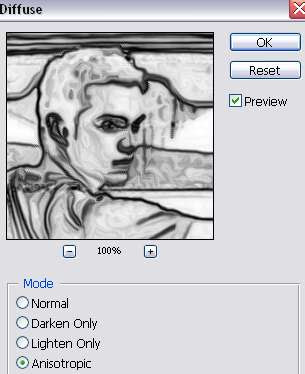
7. Still working with Layer 1 copy 3, go to Image > Adjustment > Desaturate. Then, go to Filter > Stylize > Diffuse. When the Diffuse window appear, select the Anisotropic option.
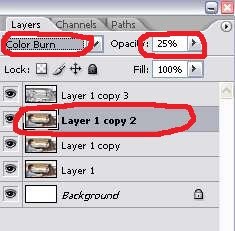
8. Now we're gonna change the layer properties. Use the settings below:
- Set Layer 1 copy 2 to Color Burn with 25% opacity.
- Set Layer 1 copy 3 to Overlay with 30% opacity.
You can always change the opacity of these two layers depending on what looks good for your image.
See examples below:
9. This last step is optional. If your image is already smooth and nice, there's no need for this final touching. If not, select the Smudge Tool (R). Choose a hard brush, set the size to 10-15 depending on your image size. Set the mode to Normal with 10% strength.
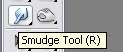

Then, find those not-so-smooth parts on your image and just smudge them away with the brush to make your image appear smoother.
And you'll get the comic style effect you'll always wanted on your image.
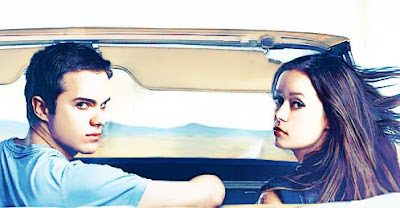
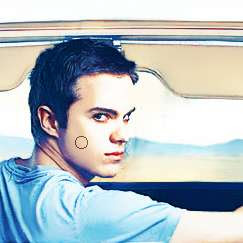
Before
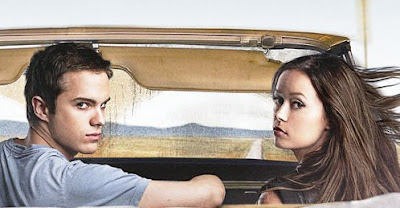
After